FENSTERKIT - OTTO
16
FENSTERKIT Abluftzubehör Gebrauchsanweisung
Transcript of FENSTERKIT - OTTO
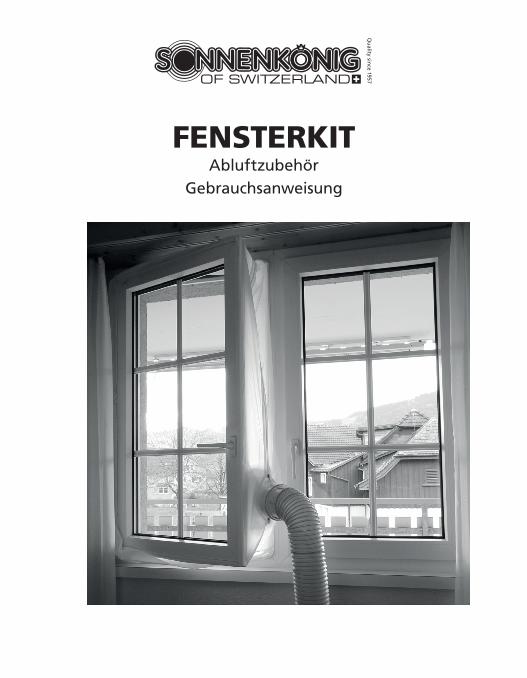
FENSTERKITAbluftzubehör
Gebrauchsanweisung
2
D
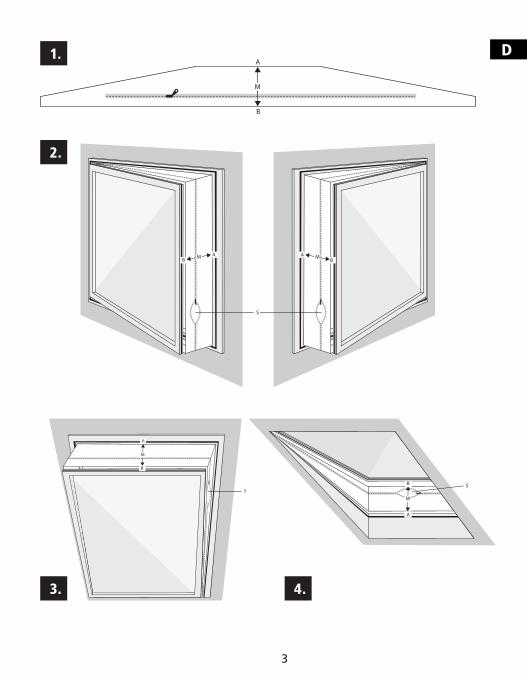
1. Markieren Sie die Mitte (M) der Fensterdichtung (Abb. 1)
2. Markieren Sie die Mitte des Fensterrahmens und des Fensterflügels (Abb. 2-4) (Abb.2 zeigt ein geöffnetes Fenster, Abb. 3 ein gekipptes Fenster und Abb. 4 ein geöffnetes Dachfenster).
3. Klettband auf die Stirnseite (meist 1 cm breit) des Fensterflügels oder auf die Innenseite des Fensterflügels (auf der sich der Fenstergriff befindet) kleben.
4. Erst Seite A, dann Seite B von der Mitte aus nach links und rechts voll ständig ankletten.
5. WICHTIG! Beim Ankletten muss Punkt A genau gegenüber von Punkt sein.
6. Beim Verschliessen des Fensters darauf achten, dass die Abdichtung nicht zwischen Fensterflügel und Fensterrahmen eingeklemmt wird.
7. Den Reissverschluss vorzugsweise an den mit «S» gekennzeichneten Stellen öffnen und den Abluftschlauch anbringen.
Garantie / Entsorgung / Technische Änderungen
Montage
Garantie:Das Fensterkit werden vor der Auslieferung genau kontrolliert. Sollte trotzdem einmal ein Mangel am Febsterkit auftreten, wenden Sie sich vertrauensvoll an Ihren Verkäufer. Bitte bringen Sie den Kaufbeleg mit, denn dieser ist für jede Garantieleistung vorzulegen.Die Garantie beträgt 24 Monaten ab dem Kaufdatum
EntsorgungDas Fensterkit muss fachgerecht entsorgt werden.
Technische ÄnderungenTechnische Änderungen in Technik und Design vorbehalten.
Bitte behalten Sie das Verpackungsmaterial für das Gerät auf.
3
DA
B
M
MBA M
BA
S
M
B
S
A
M
B
A
S
1.
2.
3. 4.
4
Firma
Armin SchmidOlensbachstrasse 9–15CH-9631 Ulisbach
Tel. Int. +41 71 987 60 60Tel. Nat. [email protected]
Firma
Armin SchmidPeter-Henlein-Strasse 5
D-89331 BurgauTel: 0180 500 64 35
Festnetz 14 Cent/Minute Mobilnetz bis 42 Cent/Minute
KIT POUR FENÊTRESAccessoires du climatiseur
Manuel de l‘ utilisateur
KIT POUR FENÊTRESAccessoires du climatiseur
Manuel de l‘ utilisateur
F
6
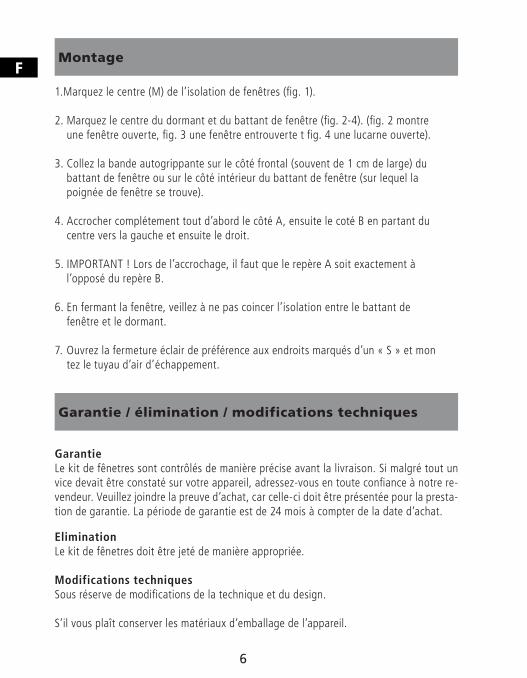
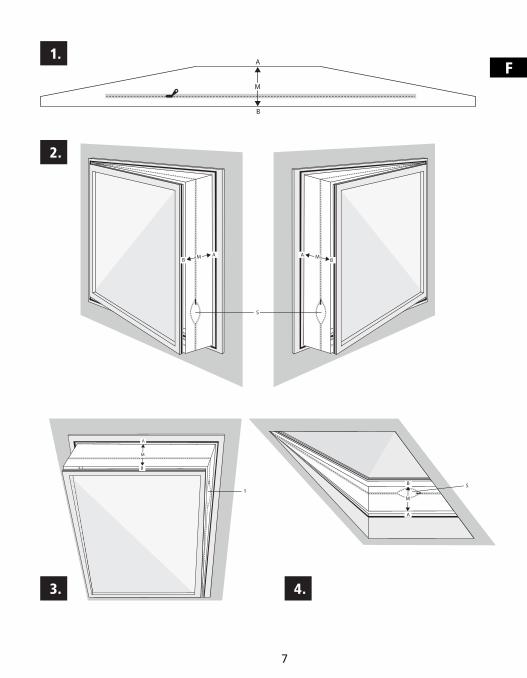
F1.Marquez le centre (M) de l’isolation de fenêtres (fig. 1).
2. Marquez le centre du dormant et du battant de fenêtre (fig. 2-4). (fig. 2 montre une fenêtre ouverte, fig. 3 une fenêtre entrouverte t fig. 4 une lucarne ouverte).
3. Collez la bande autogrippante sur le côté frontal (souvent de 1 cm de large) du battant de fenêtre ou sur le côté intérieur du battant de fenêtre (sur lequel la poignée de fenêtre se trouve).
4. Accrocher complétement tout d’abord le côté A, ensuite le coté B en partant du centre vers la gauche et ensuite le droit.
5. IMPORTANT ! Lors de l’accrochage, il faut que le repère A soit exactement à l’opposé du repère B.
6. En fermant la fenêtre, veillez à ne pas coincer l’isolation entre le battant de fenêtre et le dormant.
7. Ouvrez la fermeture éclair de préférence aux endroits marqués d’un « S » et mon tez le tuyau d’air d’échappement.
Garantie / élimination / modifications techniques
Montage
GarantieLe kit de fênetres sont contrôlés de manière précise avant la livraison. Si malgré tout un vice devait être constaté sur votre appareil, adressez-vous en toute confiance à notre re-vendeur. Veuillez joindre la preuve d‘achat, car celle-ci doit être présentée pour la presta-tion de garantie. La période de garantie est de 24 mois à compter de la date d‘achat.
EliminationLe kit de fênetres doit être jeté de manière appropriée.
Modifications techniquesSous réserve de modifications de la technique et du design.
S‘il vous plaît conserver les matériaux d‘emballage de l‘appareil.
7
FA
B
M
MBA M
BA
S
M
B
S
A
M
B
A
S
1.
2.
3. 4.
8
Maison
Armin SchmidOlensbachstrasse 9–15CH-9631 Ulisbach
Tel. Int. +41 71 987 60 60Tel. Nat. [email protected]
Maison
Armin SchmidPeter-Henlein-Strasse 5
D-89331 BurgauTel: 0180 500 64 35
Festnetz 14 Cent/Minute Mobilnetz bis 42 Cent/Minute
F
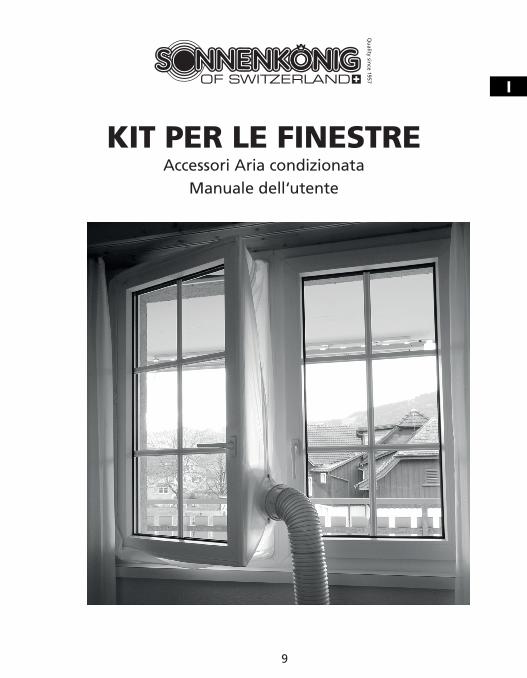
KIT PER LE FINESTREAccessori Aria condizionata
Manuale dell‘utente
9
I
KIT PER LE FINESTREAccessori Aria condizionata
Manuale dell‘utente
10
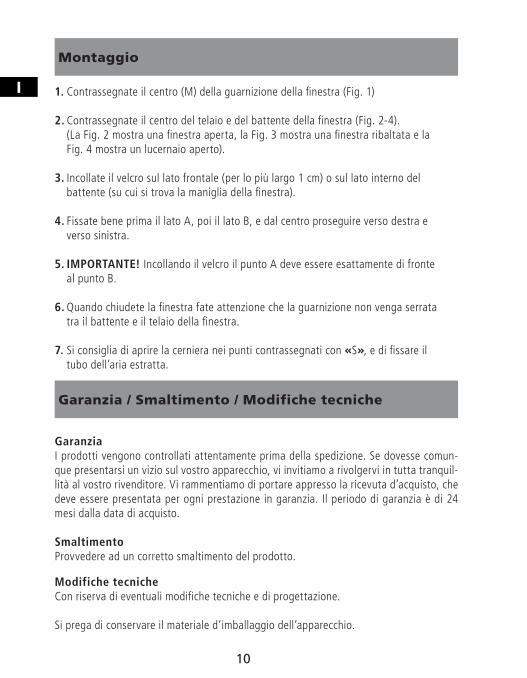
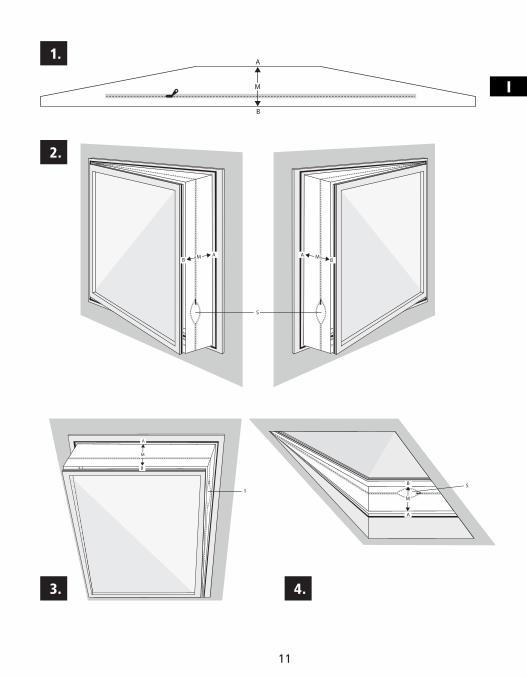
I 1. Contrassegnate il centro (M) della guarnizione della finestra (Fig. 1)
2. Contrassegnate il centro del telaio e del battente della finestra (Fig. 2-4). (La Fig. 2 mostra una finestra aperta, la Fig. 3 mostra una finestra ribaltata e la Fig. 4 mostra un lucernaio aperto).
3. Incollate il velcro sul lato frontale (per lo più largo 1 cm) o sul lato interno del battente (su cui si trova la maniglia della finestra).
4. Fissate bene prima il lato A, poi il lato B, e dal centro proseguire verso destra e verso sinistra.
5. IMPORTANTE! Incollando il velcro il punto A deve essere esattamente di fronte al punto B.
6. Quando chiudete la finestra fate attenzione che la guarnizione non venga serrata tra il battente e il telaio della finestra.
7. Si consiglia di aprire la cerniera nei punti contrassegnati con «S», e di fissare il tubo dell’aria estratta.
Garanzia / Smaltimento / Modifiche tecniche
Montaggio
GaranziaI prodotti vengono controllati attentamente prima della spedizione. Se dovesse comun-que presentarsi un vizio sul vostro apparecchio, vi invitiamo a rivolgervi in tutta tranquil-lità al vostro rivenditore. Vi rammentiamo di portare appresso la ricevuta d’acquisto, che deve essere presentata per ogni prestazione in garanzia. Il periodo di garanzia è di 24 mesi dalla data di acquisto.
SmaltimentoProvvedere ad un corretto smaltimento del prodotto.
Modifiche tecnicheCon riserva di eventuali modifiche tecniche e di progettazione.
Si prega di conservare il materiale d‘imballaggio dell‘apparecchio.
11
I
A
B
M
MBA M
BA
S
M
B
S
A
M
B
A
S
1.
2.
3. 4.
12
I
Ditta
Armin SchmidOlensbachstrasse 9–15CH-9631 Ulisbach
Tel. Int. +41 71 987 60 60Tel. Nat. [email protected]
Ditta
Armin SchmidPeter-Henlein-Strasse 5
D-89331 BurgauTel: 0180 500 64 35
Telefono fisso 14 Cent/Minute Telefono mobile bis 42 Cent/Minute
KIT FOR WINDOWSAir conditioner accessories
User manual
13
GB
KIT FOR WINDOWSAir conditioner accessories
User manual
14
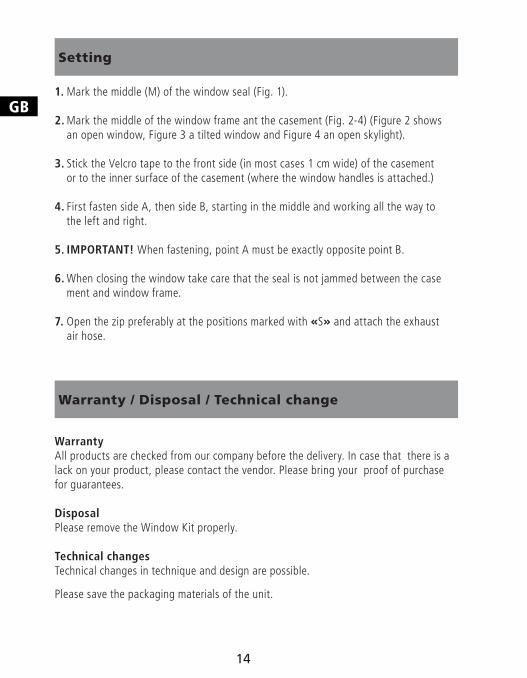
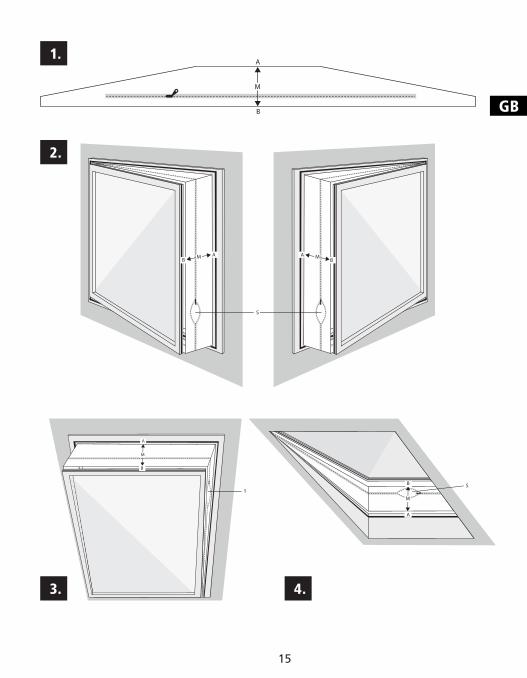
GB1. Mark the middle (M) of the window seal (Fig. 1). 2. Mark the middle of the window frame ant the casement (Fig. 2-4) (Figure 2 shows an open window, Figure 3 a tilted window and Figure 4 an open skylight).
3. Stick the Velcro tape to the front side (in most cases 1 cm wide) of the casement or to the inner surface of the casement (where the window handles is attached.)
4. First fasten side A, then side B, starting in the middle and working all the way to the left and right.
5. IMPORTANT! When fastening, point A must be exactly opposite point B.
6. When closing the window take care that the seal is not jammed between the case ment and window frame.
7. Open the zip preferably at the positions marked with «S» and attach the exhaust air hose.
Warranty / Disposal / Technical change
Setting
WarrantyAll products are checked from our company before the delivery. In case that there is a lack on your product, please contact the vendor. Please bring your proof of purchase for guarantees.
DisposalPlease remove the Window Kit properly.
Technical changesTechnical changes in technique and design are possible.
Please save the packaging materials of the unit.
15
GB
A
B
M
MBA M
BA
S
M
B
S
A
M
B
A
S
1.
2.
3. 4.

Firma
Armin SchmidOlensbachstrasse 9–15CH-9631 Ulisbach
Tel. Int. +41 71 987 60 60Tel. Nat. [email protected]
Firma
Armin SchmidPeter-Henlein-Strasse 5
D-89331 BurgauTel: 0180 500 64 35
Festnetz 14 Cent/Minute Mobilnetz bis 42 Cent/Minute